1 Prerequisites
1.1 Infrastructure
In this course, we will be using the following infrastructure:
- a Jupyterhub instance, hosted direcly at IMAG the lab where I work. Don’t use it directly, I’ll provide a speficic link for each of you to connect. This serve as a “hub” to launch your own JupyterLab instance.
- a JupyterLab instance, hosted on a cluster MESO@LR. You will have exatly one instance each. This instance will be, depending on the context of the course, configured to run on essentially two different ways:
- either it will be configured to run on a single node, with a single CPU. This is the case for the first part of the course, where we will focus on the basics of parallel programming.
- or it will be configured to run on multiple nodes, . This is the case for the second part of the course, where we will focus on distributed programming.
1.2 Software required
You will need to install the following software on your computer: Visual Studio Code (VSCode), a free and open-source code editor. You’ll have to install the following extensions:
 Python extension to have everything you need to work with Python.
 Jupyter to have everything you need to work with Jupyter notebooks.
 Live Share to enable collaborative editing.
1.3 How to use the JupyterLab instance in VSCode
1.3.1 Prerequisite: get your own JupyterLab instance url
In the table I provided you, you should have a line with:
- your name
- your username (which begin with
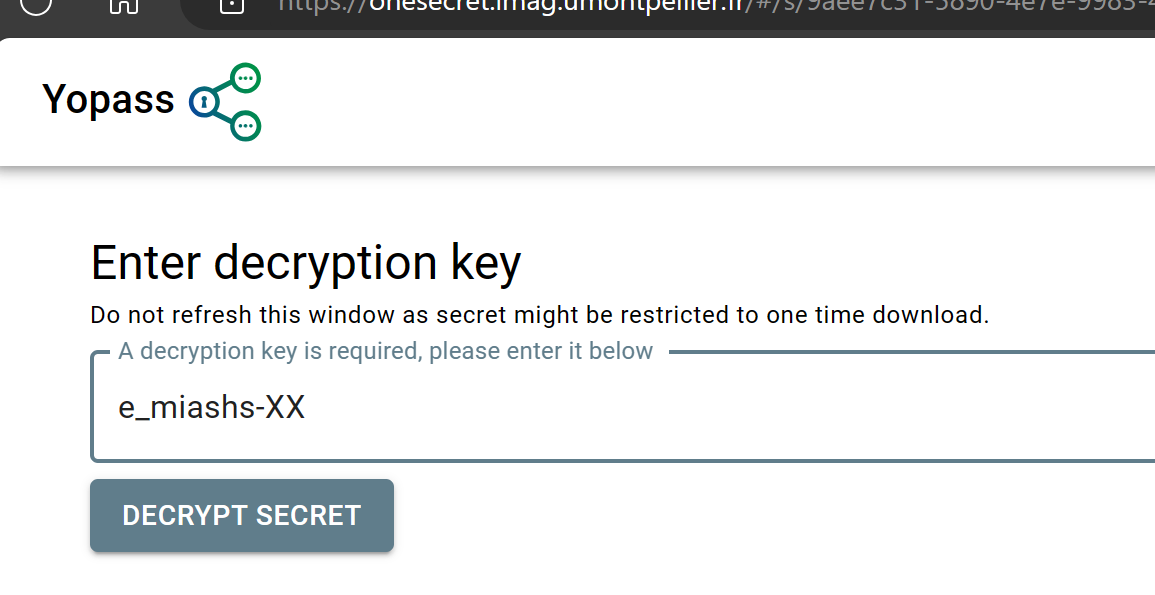
e_miashs-XXwhereXXis the number of your account)1 - a onesecret link type of link :
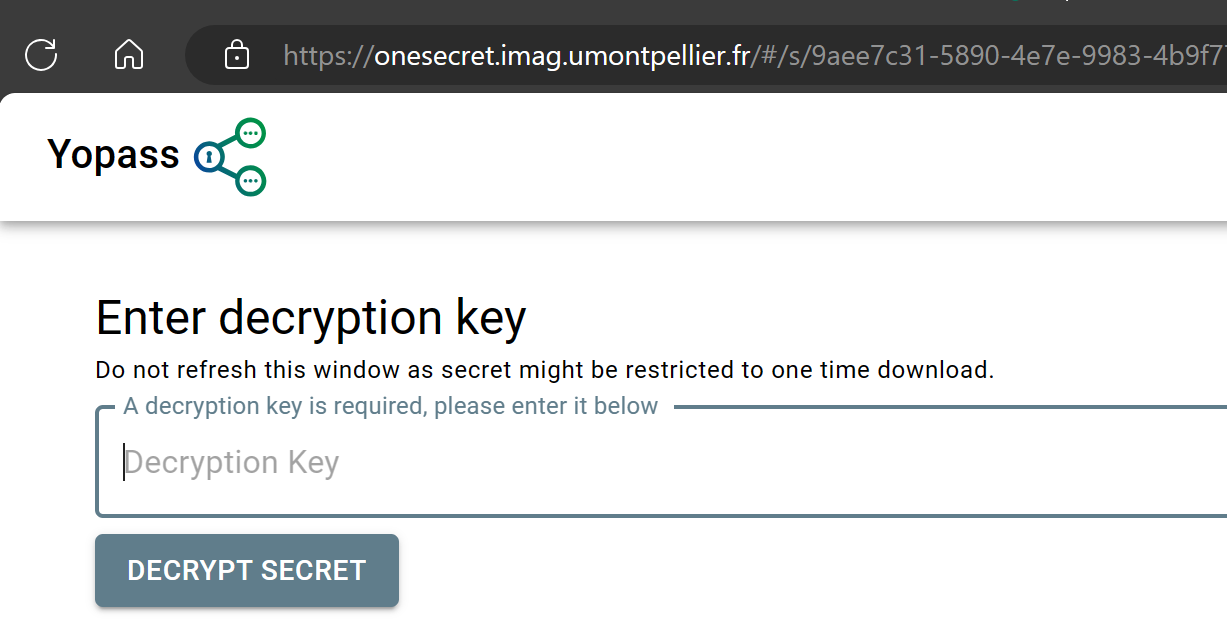
- As the decryption key, simply provide your username:
- And then you get the link to your JupyterLab instance:
 , save it somewhere.
This works only once. If you close the tab or didn’t properly save the link you’ll have to ask me for a new onesecret link.
1.3.2 Connect to the JupyterLab instance with VSCode
- First, bring down the command palette with
Ctrl+Shift+P(orCmd+Shift+Pon macOS). Then, choose “Jupyter: Launch Interactive Window”.
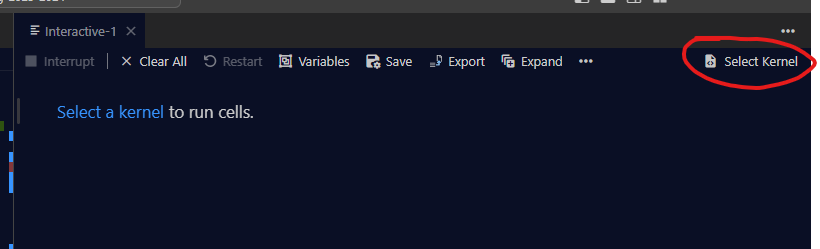
- It will open a new tab in vscode, click on “Select kernel” like this:
- Choose “Existing Jupyter Server” :

- Paste the link you got from the onesecret link, and then press enter:

- It will ask you for a username, ignore it and press enter:

- Then it will ask you for a display name for the instance, you can put whatever you want, and press enter:

- And finally, you have to choose for the kernel, choose “Python 3” and voilà
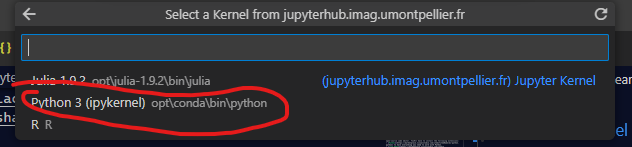
It could take a few seconds when you enter your first cell of code for the kernel to start.
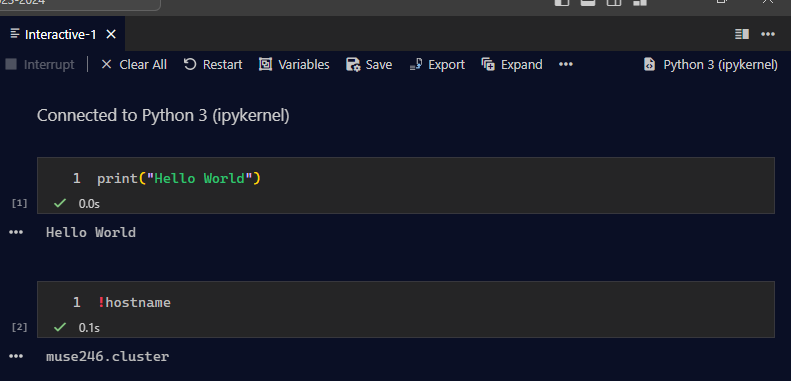
As you can see, from now on, every python interactive execution you do in VSCode will be done on your remote JupyterLab instance (the shell hostname returned the name of the cluster node on which the instance is running). Therefore, the code you execute can’t use any local file on your computer, even if your code is in a local file. Generally everything you’ll need as resources and files will be provided by me.
In the case you need to use a local file, you’ll have to upload it to your JupyterLab instance, by using direct shell commands in the interactive window for example.
Of course, you can use the JupyterLab instance directly in your browser, but I strongly recommend you to use VSCode, because:
- It will be much more convenient to work with.
- We will be able to use collaborative editing in practice sessions.
When you’ll lose your connection to the JupyterLab instance in VSCode (for example if you close the tab, exit from VSCode, or simply your laptop goes to sleep), you also lose the current state of your session in the stance (you have to reexecute all the cells you executed to restore the state of the session).
It also could ask for your username again, just press enter.
1.4 Collaborative editing
- In the discord channel, I’ll provide you a link to join a collaborative editing session. Don’t click on it, just copy it:

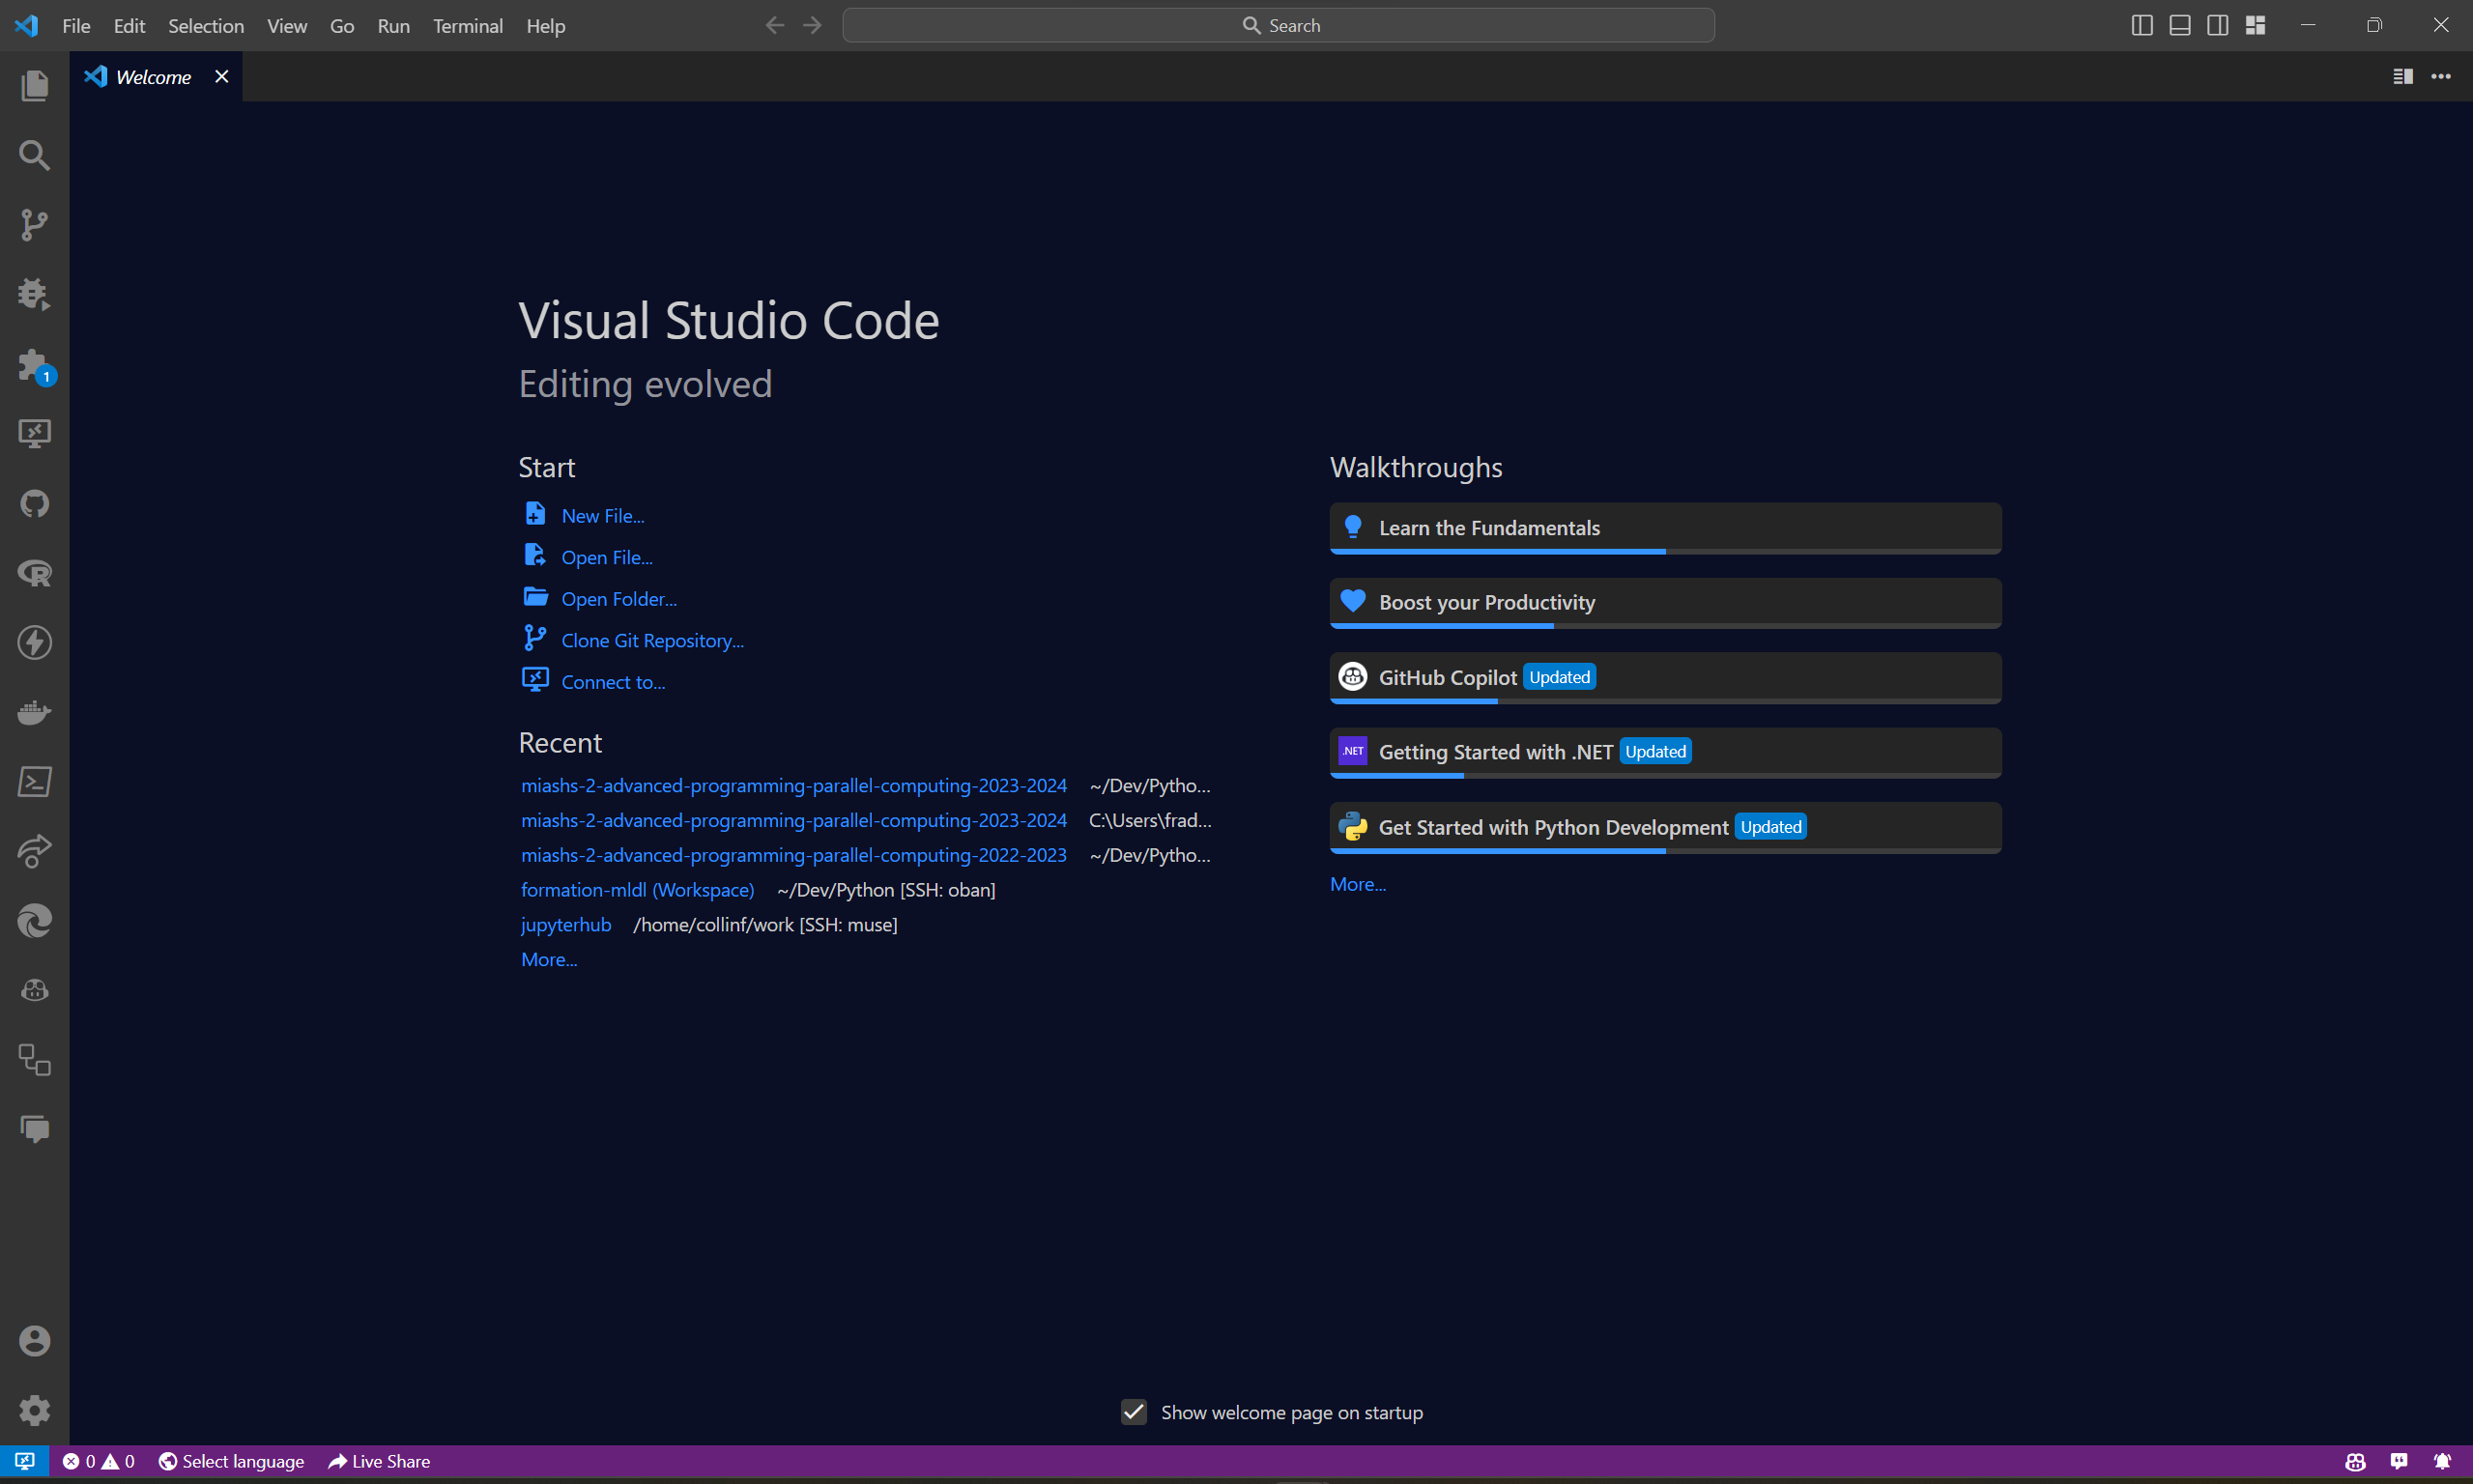
- Then open a new “blank” window in VSCode, which will be exclusively for collaborative session.
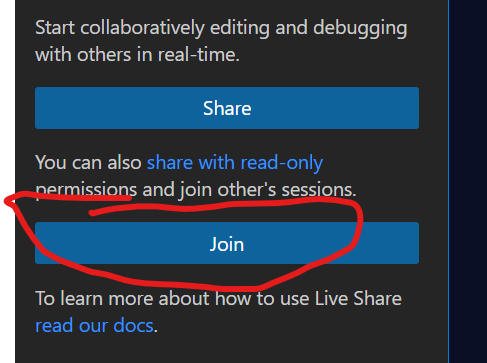
- Then, click on the “Live Share” button in the bottom left corner of the window

- Click on the “Join” button
- Either choose anonymous or sign in with your github/microsoft account
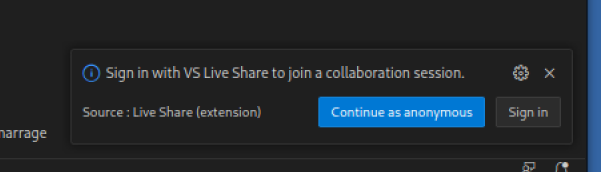
If you choose to sign in, you’ll have to authorize VSCode to access your github/microsoft account. If you choose anonymous, you’ll have to choose a username. Please choose a username that is easily identifiable as yours.
In the case of any problem, contact me ASAP, and specify your username.↩︎